こんにちはジョージです。前回の続きやりましょ。 前回の記事はこちら ↓

プロジェクトのソース修正
V-Calendar と FileMaker カスタム App を双方向に操作できるように修正を加えます。いろいろ試した結果、これが一番簡単なのではないかと思う方法を紹介します。
main.js
まずは main.js のソースを書き換えます。
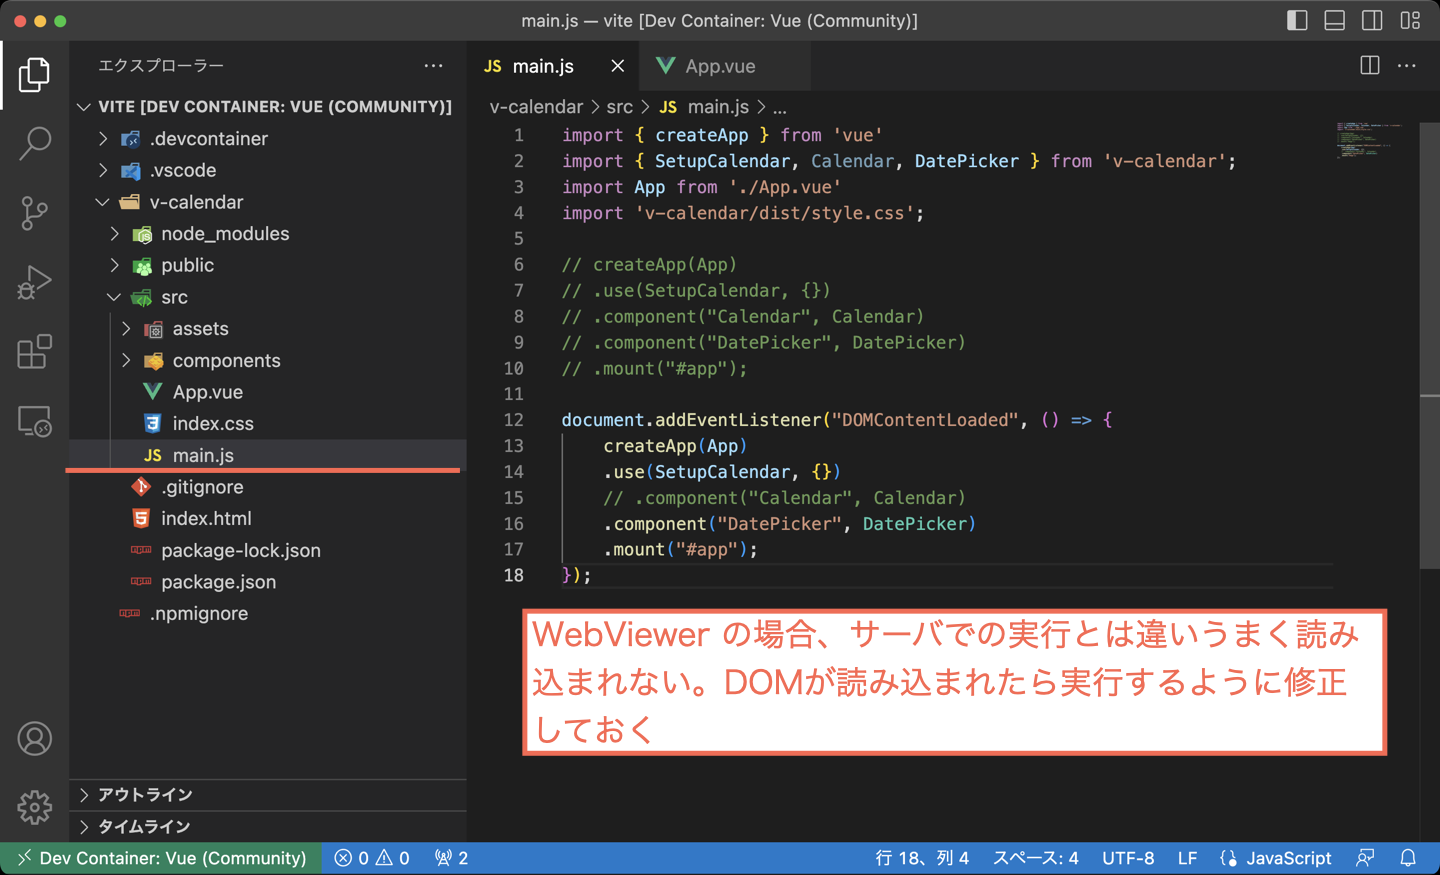
開発環境や実際のサーバ上でのテストでは問題ないのですが、カスタム App WebViewr の場合はうまくカレンダーが表示されないので、DOM が読み込まれたら強制的に出力させます。
import { createApp } from 'vue'
import { SetupCalendar, Calendar, DatePicker } from 'v-calendar';
import App from './App.vue'
import 'v-calendar/dist/style.css';

// createApp(App)
// .use(SetupCalendar, {})
// .component("Calendar", Calendar)
// .component("DatePicker", DatePicker)
// .mount("#app");

document.addEventListener("DOMContentLoaded", () => {
    createApp(App)
    .use(SetupCalendar, {})
    // .component("Calendar", Calendar)
    .component("DatePicker", DatePicker)
    .mount("#app");
});
App.vue
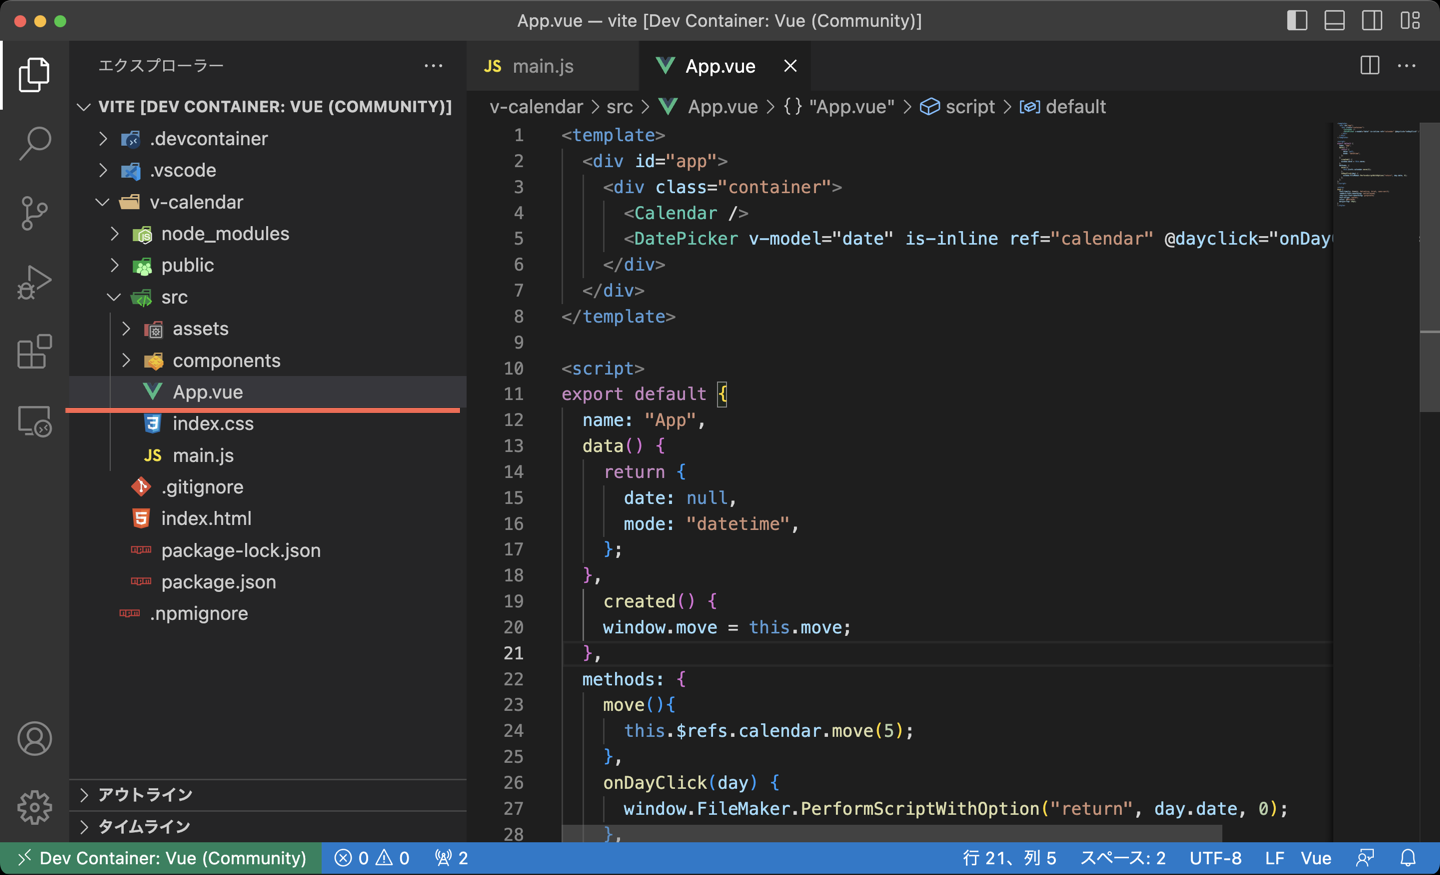
つづいて App.vue です。
<template>
  <div id="app">
    <div class="container">
      <Calendar />
      <DatePicker v-model="date" is-inline ref="calendar" @dayclick="onDayClick" />
    </div>
  </div>
</template>

<script>
export default {
  name: "App",
  data() {
    return {
      date: null,
      mode: "datetime",
    };
  },
  created() {
    window.move = this.move;
  },
  methods: {
    move(){
      this.$refs.calendar.move(5);
    },
    onDayClick(day) {
      window.FileMaker.PerformScriptWithOption("return", day.date, 0);
    },
  },
};
</script>

<style>
#app {
  font-family: Avenir, Helvetica, Arial, sans-serif;
  -webkit-font-smoothing: antialiased;
  -moz-osx-font-smoothing: grayscale;
  text-align: center;
  color: #2c3e50;
  margin-top: 60px;
}
</style>
補足説明(5 行目)
<DatePicker v-model="date" is-inline ref="calendar" @dayclick="onDayClick" />カレンダーを「calendar」という名前でスクリプトから参照できるようにし、カレンダー日付がクリックされた後に onDayClick を実行するように登録します。
補足説明(23 行目)
methods: {
    move(){
      this.$refs.calendar.move(5);
    },
    onDayClick(day) {
      window.FileMaker.PerformScriptWithOption("return", day.date, 0);
    },
  }
move メソッドと onDayClick メソッドを追加します。move では calendar を 5ヶ月進めるだけで特に意味はありませんが、簡単に見た目が変化するので採用しました。onDayClick では FileMaker の return スクリプトにクリックされた日付を渡しています。
補足説明(20 行目)
created() {
    window.move = this.move;
  }
window オブジェクト経由で move メソッドを実行できるようにします。これでカスタム App から V-Calendar を呼び出して連携できるようになります。
プロジェクトのビルド
ここまでできたら一度ビルドしてみましょう。
npm run build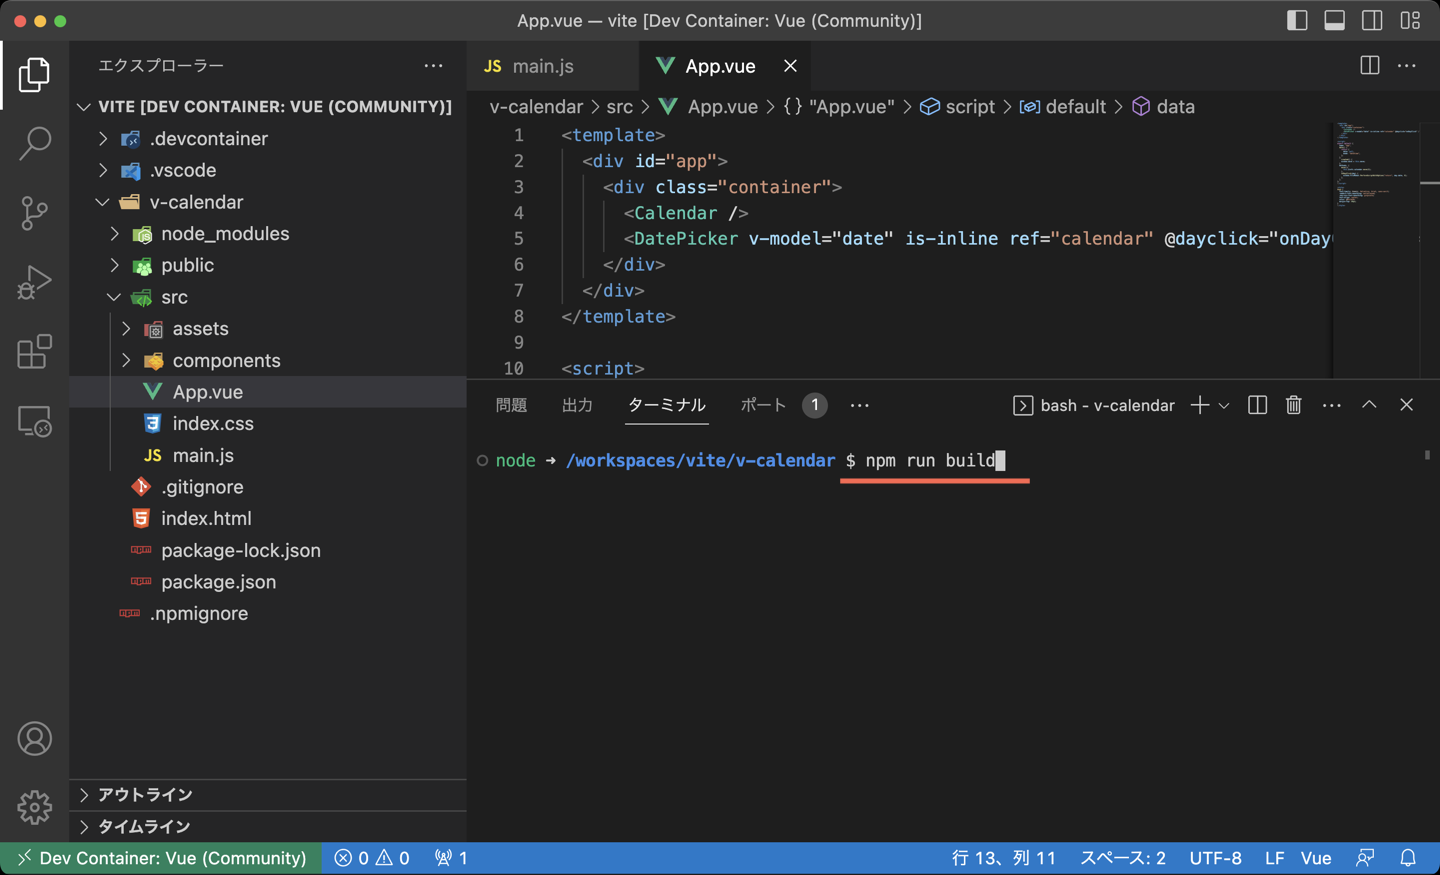
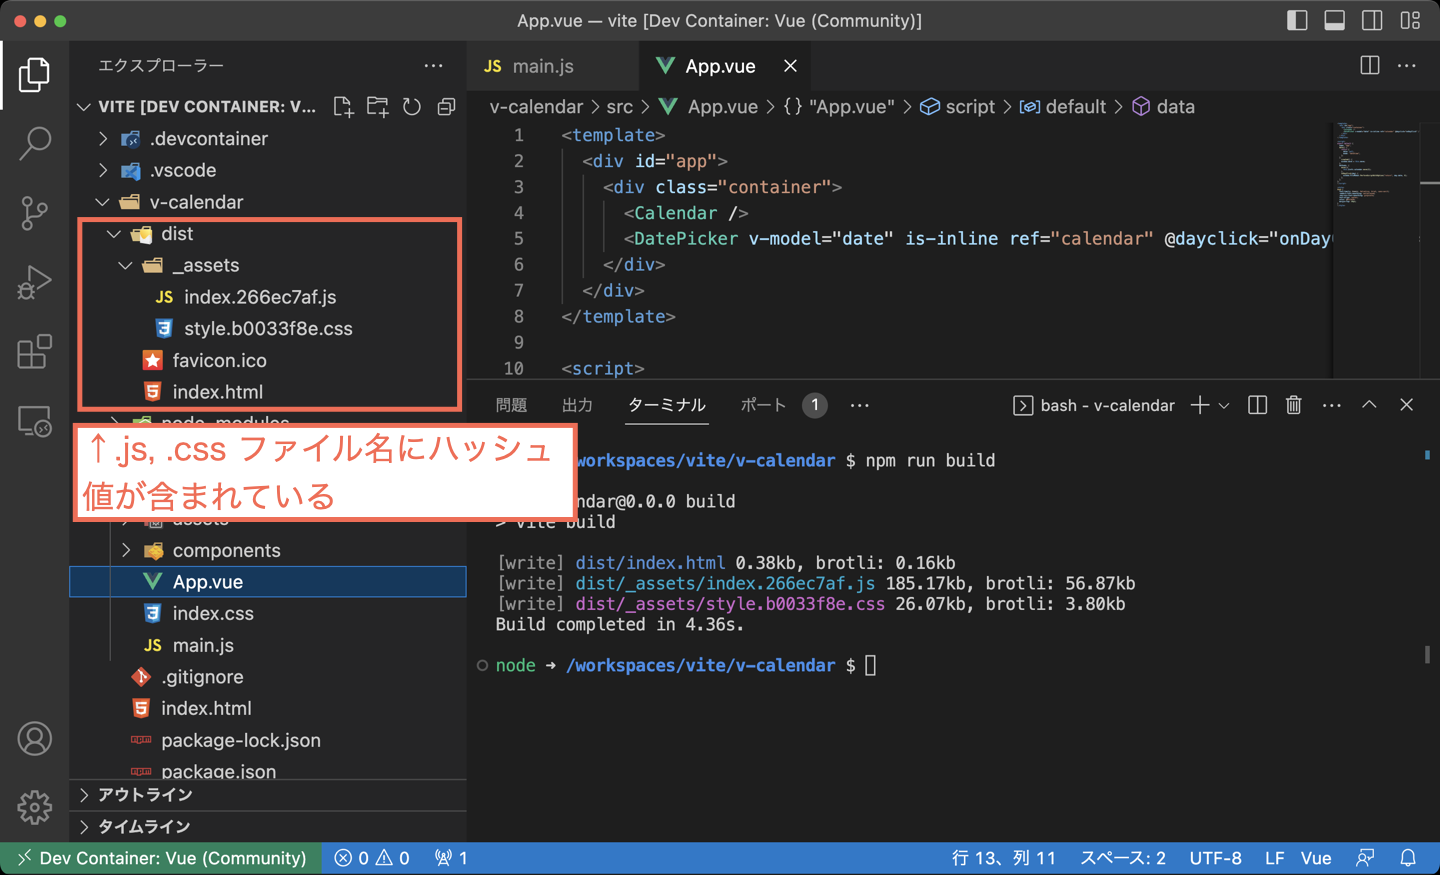
dist フォルダに html と JavaScript、CSS ファイルが出力されました。ただしファイル名にハッシュ値が含まれていて build の度にハッシュ値が変化します。これではカスタム App に取り込みにくいのでハッシュ値をなくす設定を行います。
出力されたファイル名からハッシュ値を取り除く
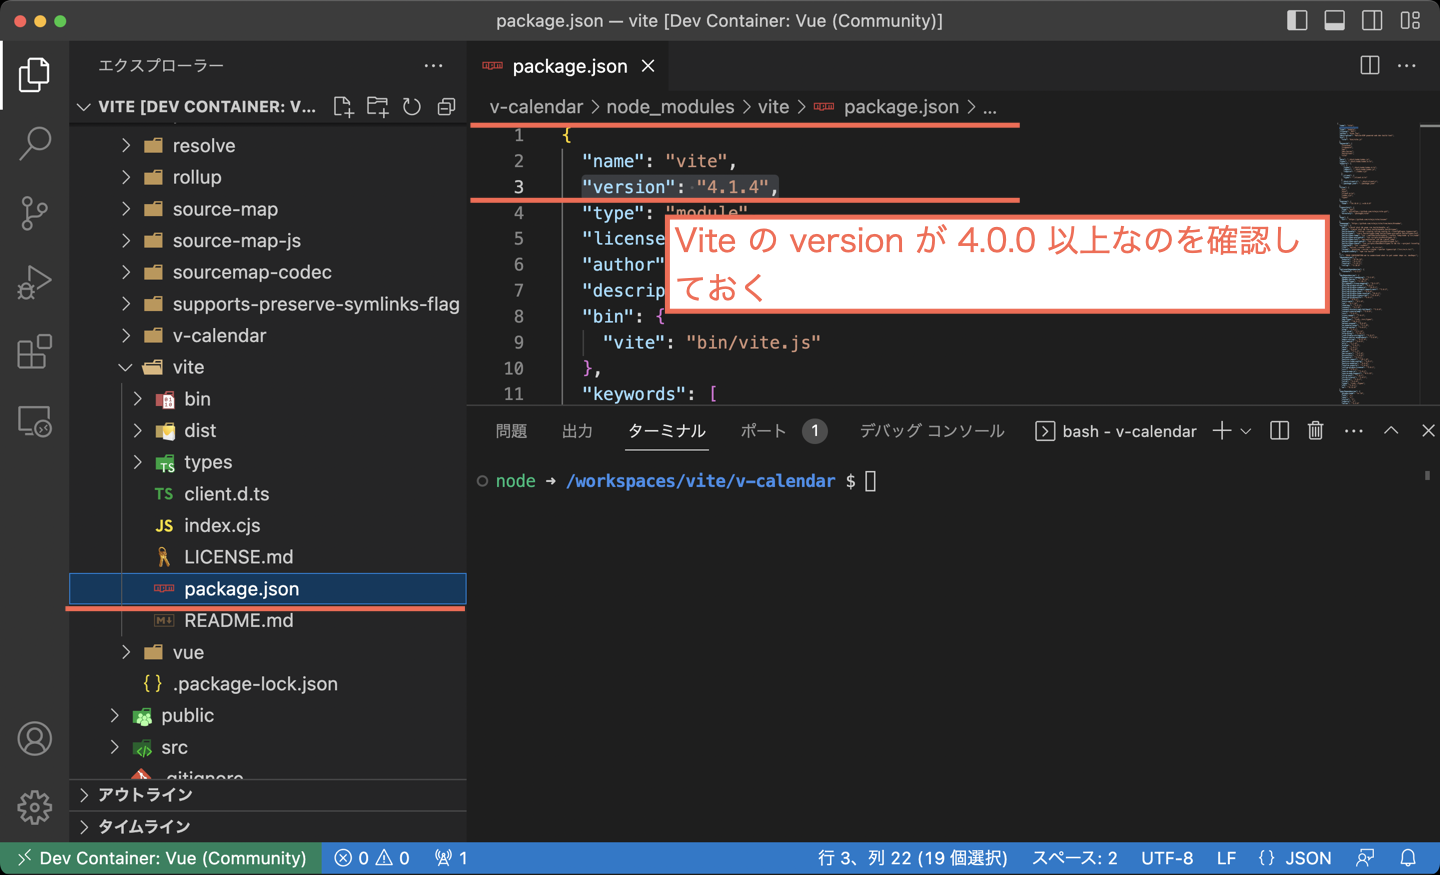
まずは vite のバージョンが 4.0.0 以上な事を確認してください。私の VSCode の RemoteContainer から作成した環境では vite のバージョンがえらい古かったので npm から 最新の vite をインストールしてます。
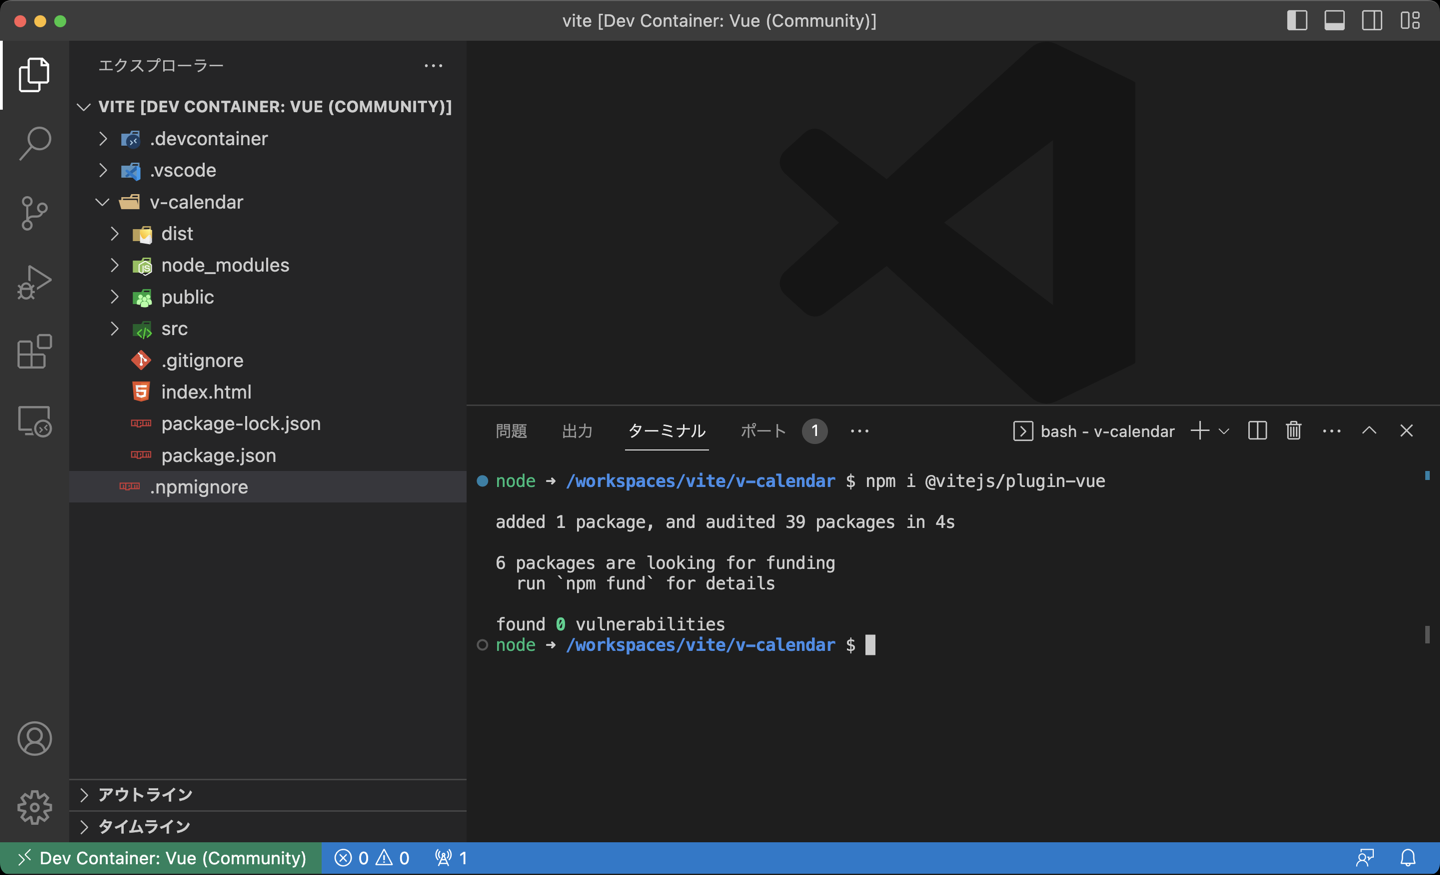
つづけてプラグインをインストールします。オフィシャルサイトの説明によると Vue 3 の単一ファイルコンポーネントがサポートされるようです。
npm i @vitejs/plugin-vue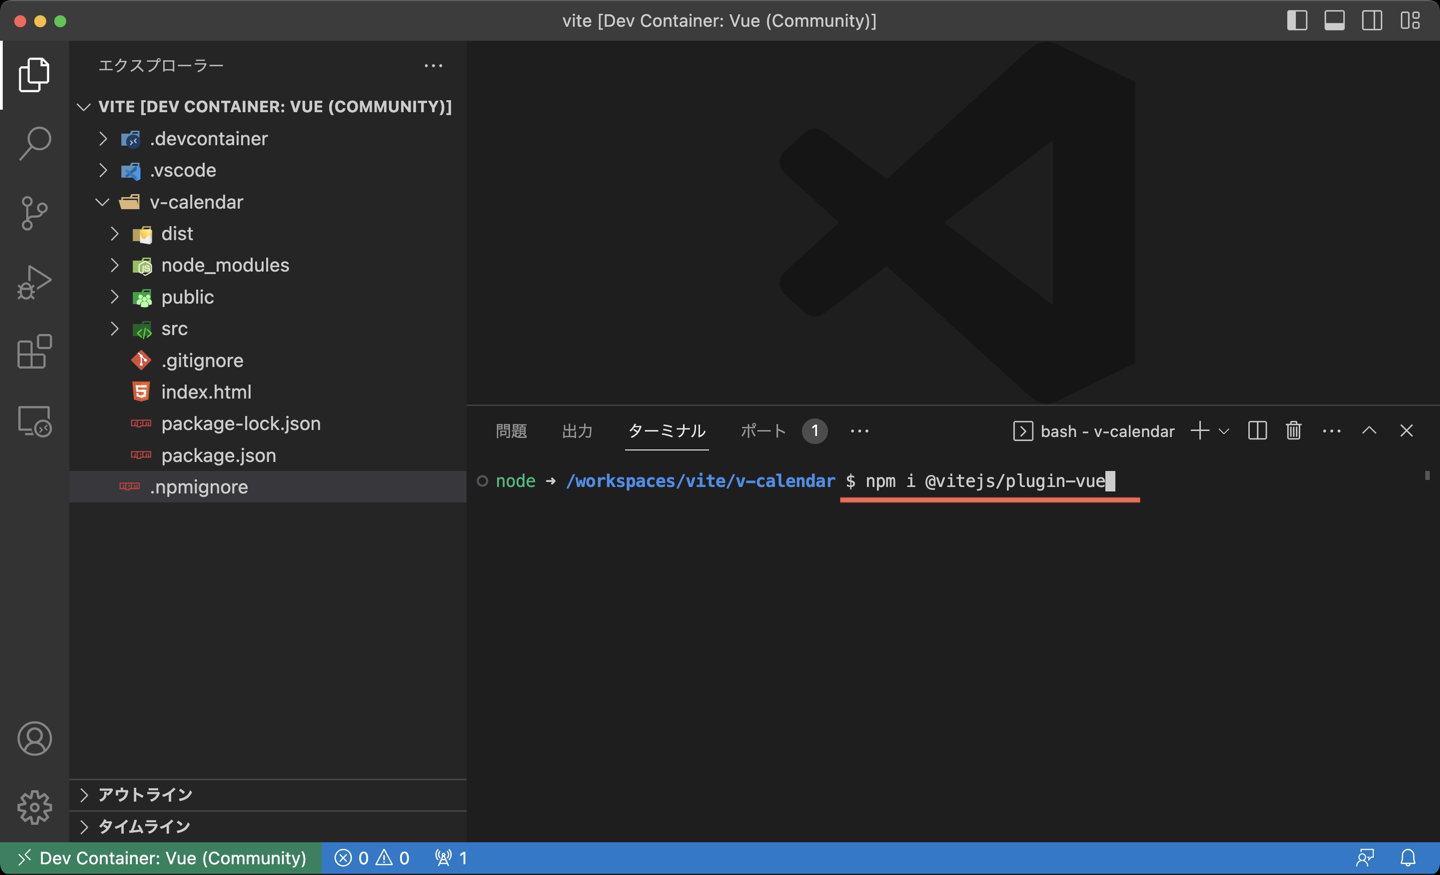
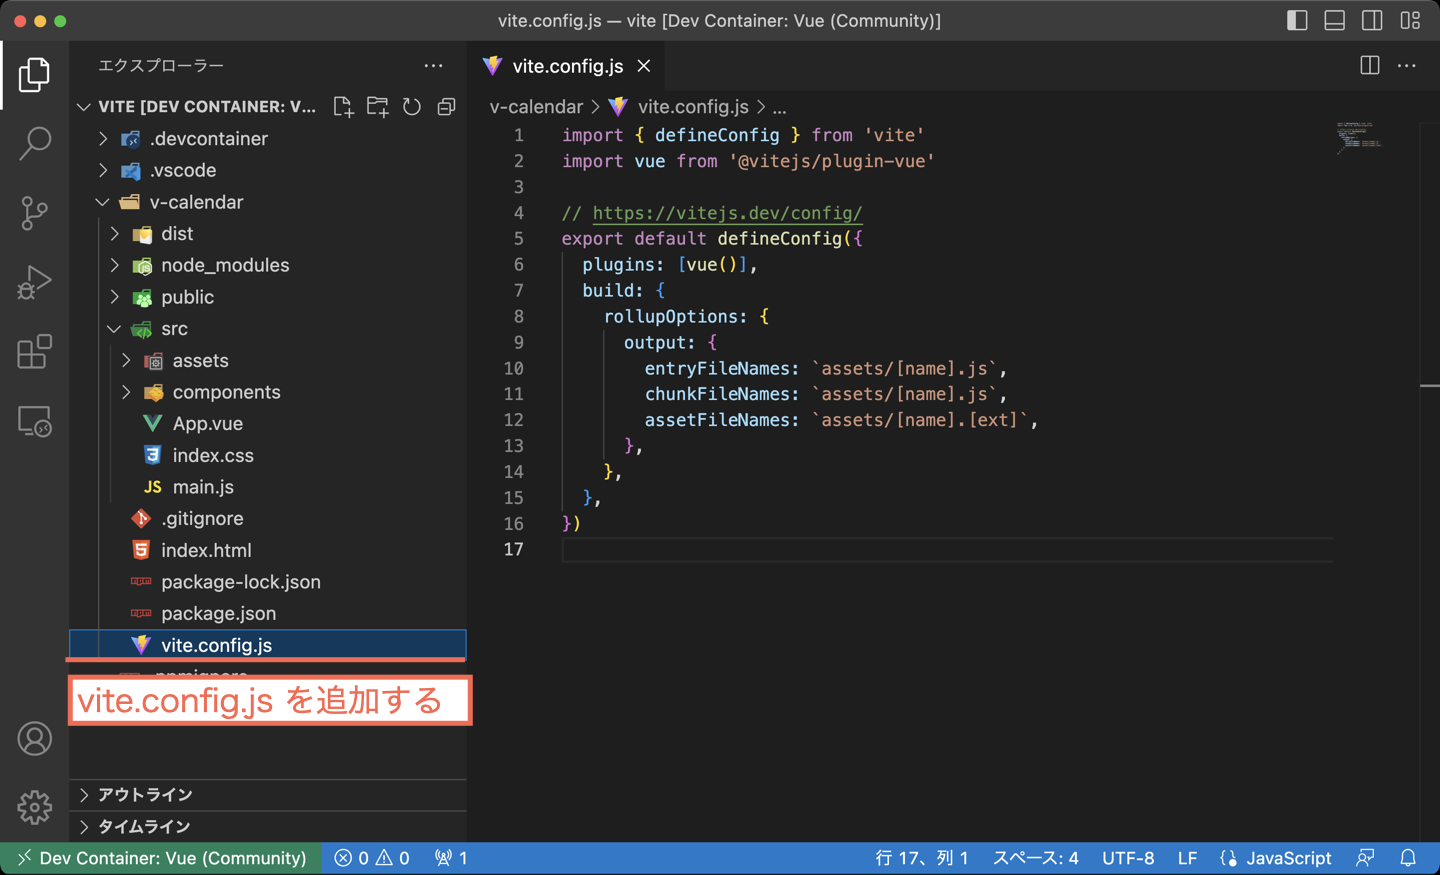
プロジェクトフォルダに vite.config.js ファイル を新規追加します。これでファイル名にハッシュ値が含まれなくなります。
import { defineConfig } from 'vite'
import vue from '@vitejs/plugin-vue'

// https://vitejs.dev/config/
export default defineConfig({
  plugins: [vue()],
  build: {
    rollupOptions: {
      output: {
        entryFileNames: `assets/[name].js`,
        chunkFileNames: `assets/[name].js`,
        assetFileNames: `assets/[name].[ext]`,
      },
    },
  },
})
もう一度ビルドしてみましょう。ハッシュ値がなくなりました。
npm run build
dist フォルダに出力された index.html を修正します。カスタム App で置換しやすいようにダブルクォート「”」をシングルクォート「’」に変換します。
<!DOCTYPE html>
<html lang="en">
<head>
  <meta charset="UTF-8">
  <link rel="icon" href="/favicon.ico" />
  <meta name="viewport" content="width=device-width, initial-scale=1.0">
  <title>Vite App</title>
  <script type='module' crossorigin src='/assets/index.js'></script>
  <link rel='stylesheet' href='/assets/index.css'>
</head>
<body>
  <div id="app"></div>

</body>
</html>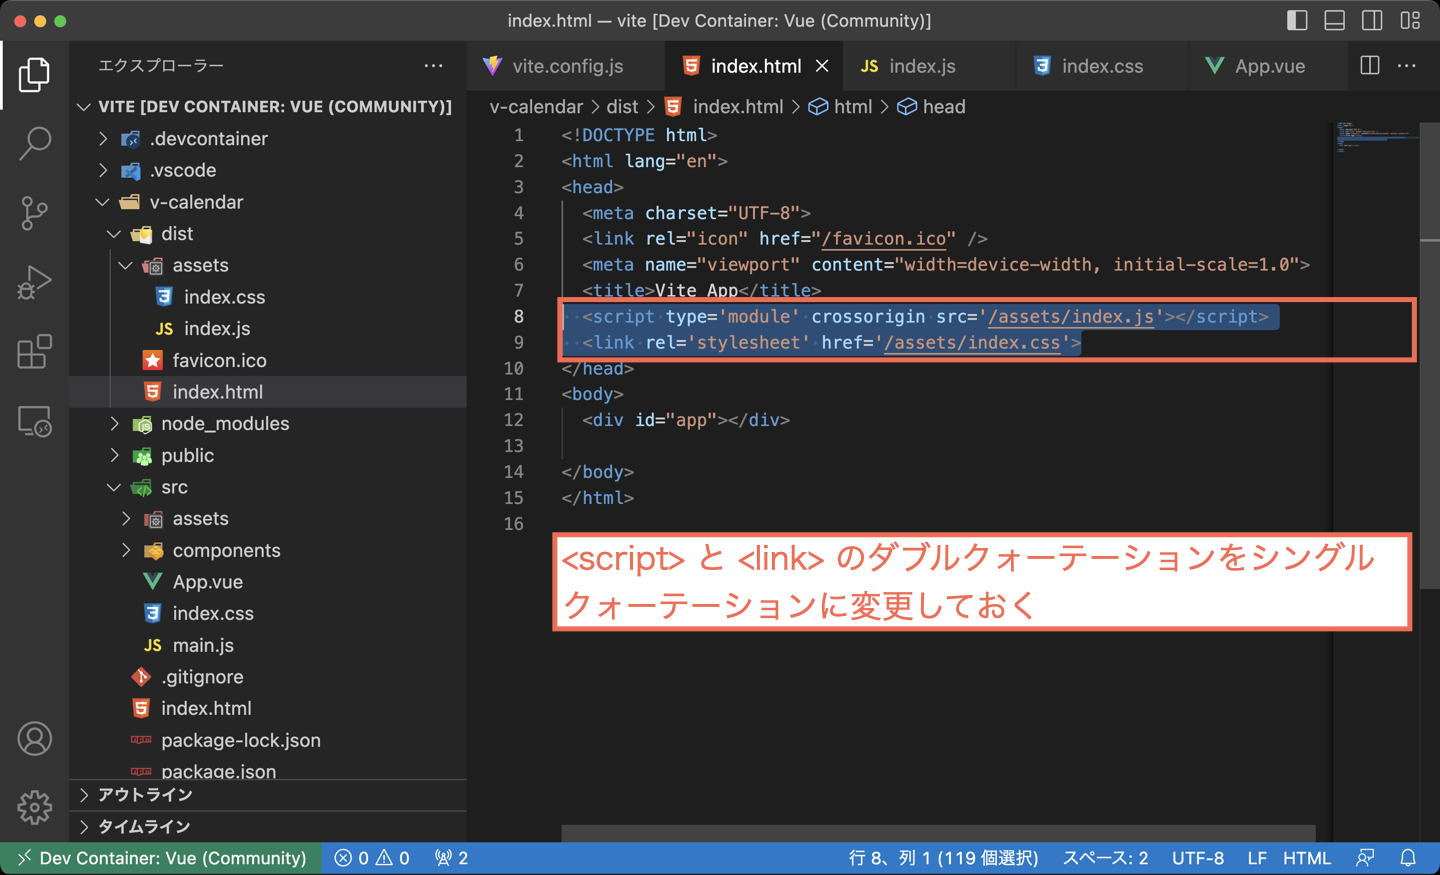
とりあえず プロジェクトでの作業はこれで完了です。お疲れ様でした!
カスタム App を新規作成
FIleMaker でカスタム App を新規作成します。
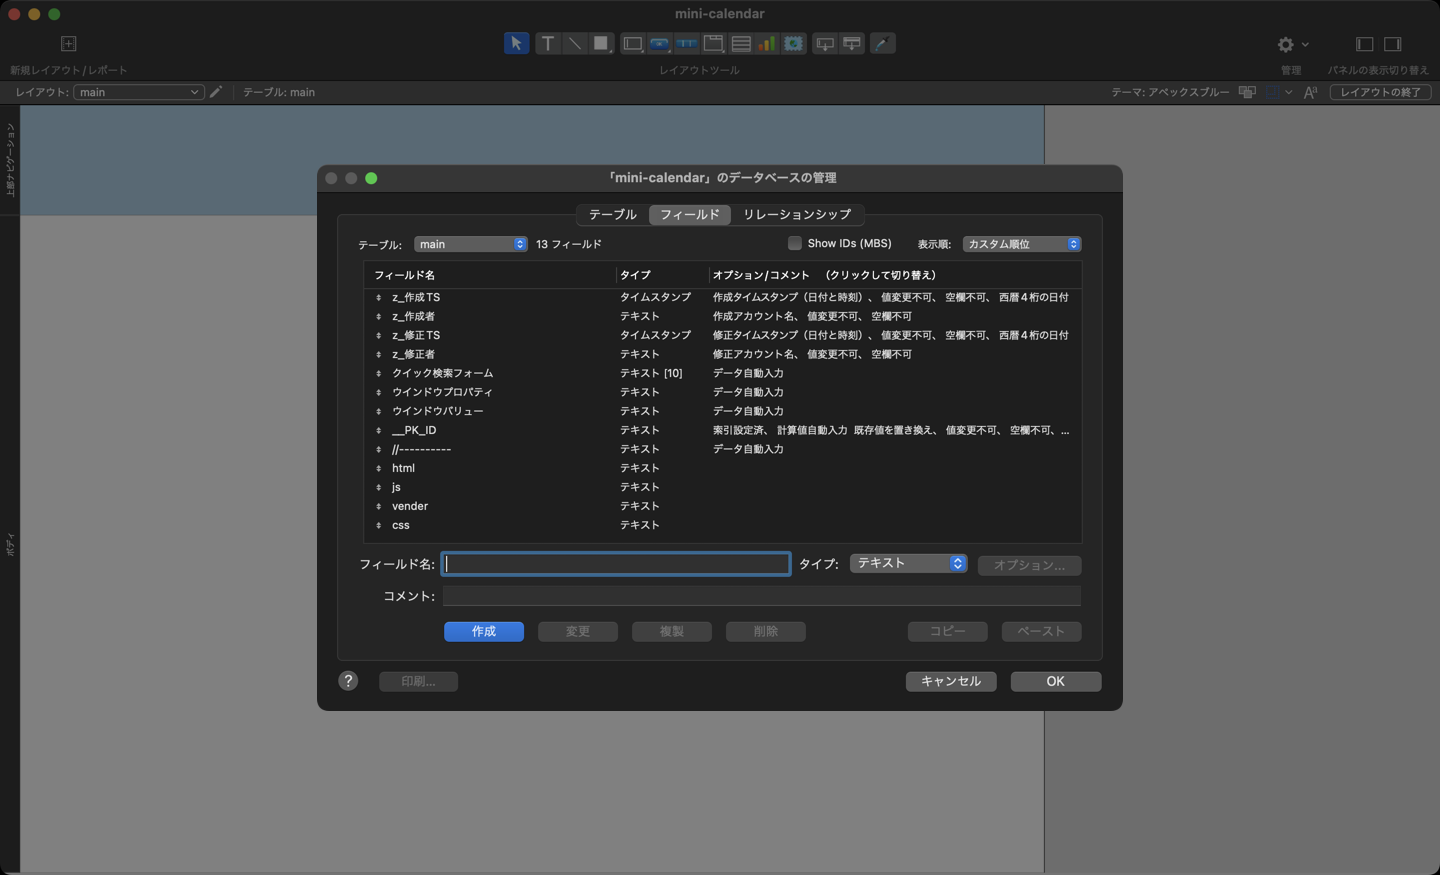
フィールドと WebViewer をレイアウトに配置します。
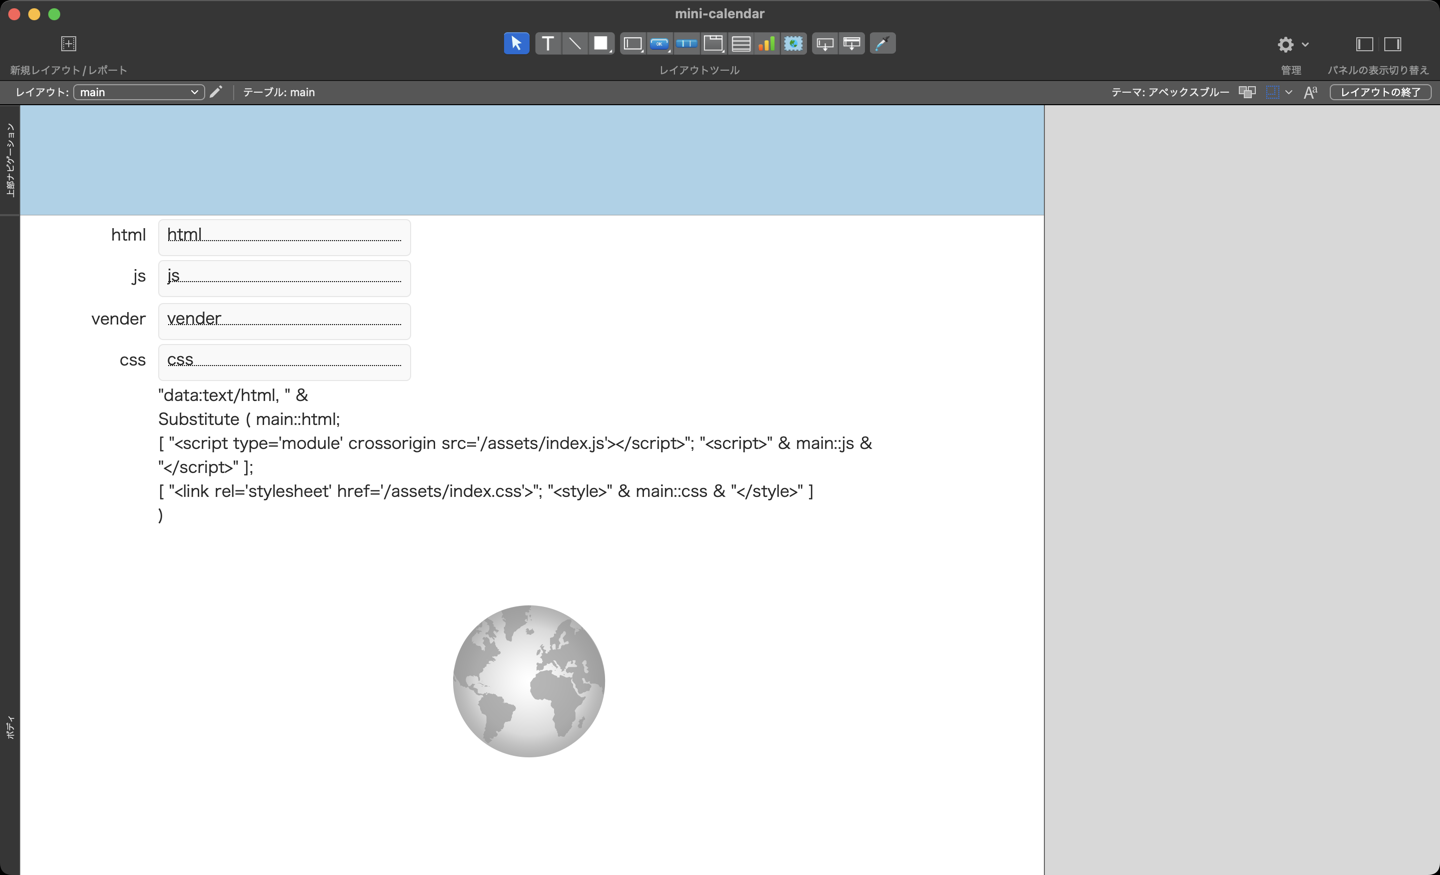
WebViewer の内容
"data:text/html, " &
Substitute ( main::html;
[ "<script type='module' crossorigin src='/assets/index.js'></script>"; "<script>" & main::js & "</script>" ];
[ "<link rel='stylesheet' href='/assets/index.css'>"; "<style>" & main::css & "</style>" ]
)
WebViewer にはオブジェクト名「wv」として、JavaScript による FileMaker スクリプトの実行許可オプションを有効にすることを忘れずに行ってください。
html、js、css フィールドにはそれぞれ、ビルド後に出力されたファイルの内容を挿入します。うまくいくと WebViewer にカレンダーが表示されます。

ながくなったので、カスタム App との連携は次回に紹介します。お楽しみに!